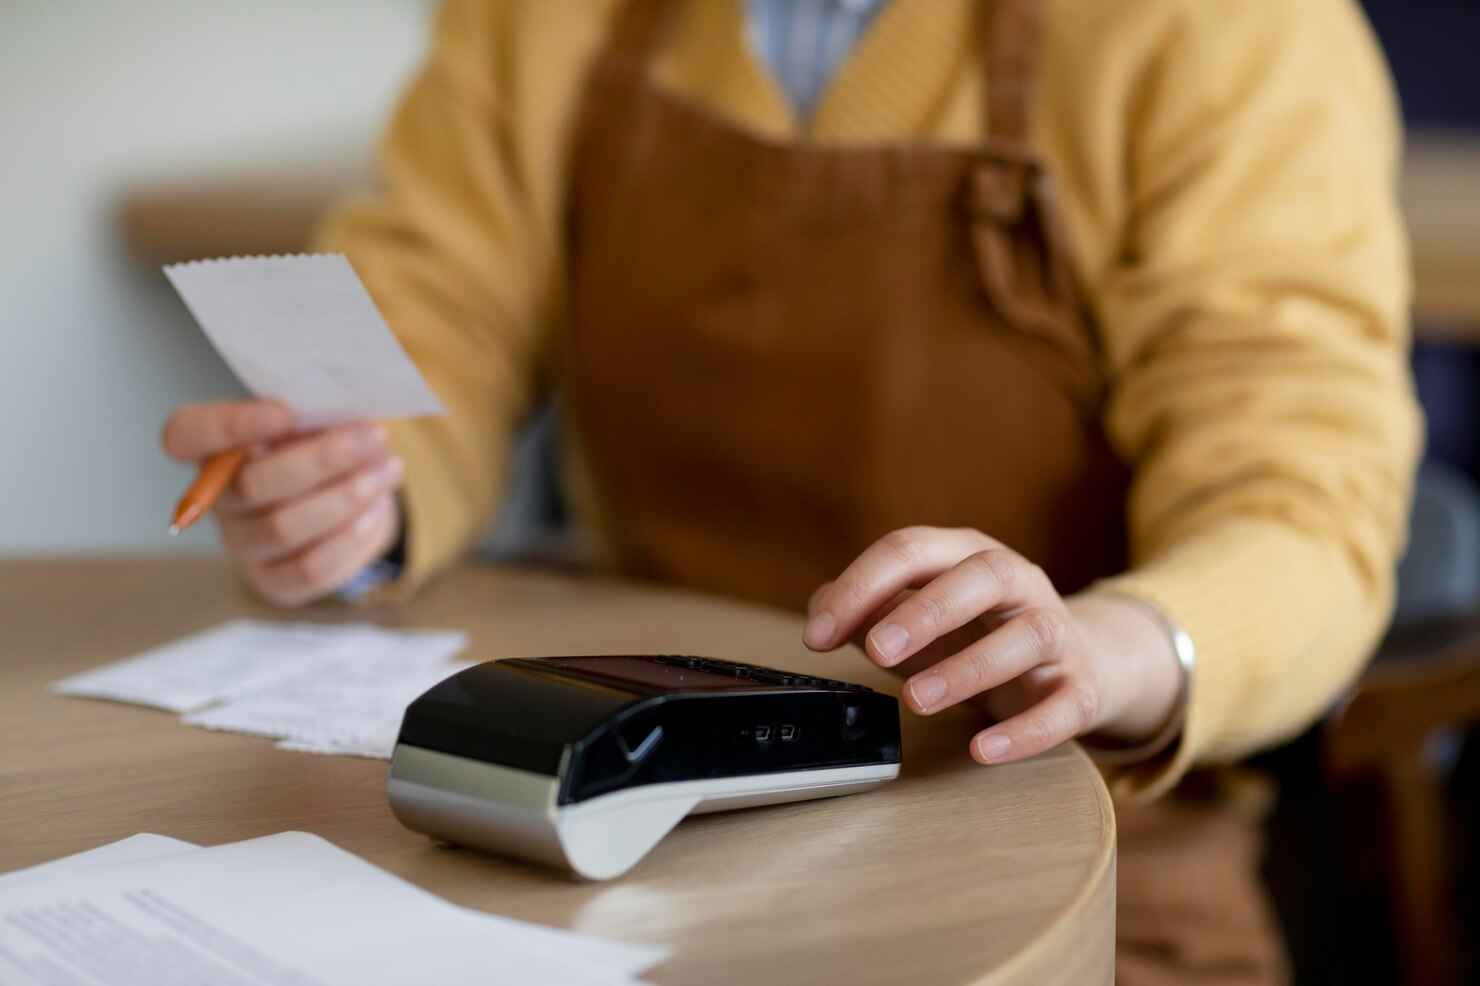
Want neater receipt printouts? Don't choose the wrong cashier printer paper size! If it's wrong, the print can be cut off or even not read clearly.
Well, this article is really suitable for those of you who want to know how to set the paper size for your cash register printer without any hassle. Come on, get straight to practice!
The Importance of Setting the Cashier Printer Paper Size
Have you ever encountered a shopping receipt whose writing was not neat or even partially cut off? This usually happens because the cash register printer paper size has not been set correctly.
For business owners, problems like this can make receipts look unprofessional. In fact, the way to adjust the paper size settings for the cash register printer is really easy, you know!
Just by knowing the right steps, you can avoid problems like this. Each type of cashier printer usually uses a different cashier printer paper size, such as 58 mm, 80 mm, or even other sizes.
If the cashier's printer paper size setting is not appropriate, the print results can be messy and the shopping receipt that comes out can be cut or the writing cannot be read clearly.
To keep printed receipts neat and professional, you have to make sure the paper size for the cash register printer is set correctly. Not only that, for Bluetooth cash register printers, setting the paper size is very important.
Even though this printer is more practical and cable-free, you still have to pay attention to the paper size settings to ensure maximum print results. So, don't forget to check and make sure the bluetooth cash register printer's paper size settings match the type of printer you are using.
So, by ensuring that the paper size for the cash register printer is set correctly, you not only avoid technical problems, but also give a professional impression to customers.
So, make sure all settings have been checked and are appropriate, so that your business will be more trustworthy and the printed receipts will always be perfect! So, what are the specific steps? Come on, check it out!
Read Also: Get to know the Kitchen Display System for Restaurant Kitchen Management
Easy Steps to Set Cashier Printer Paper Size
You can immediately practice how to set the cash register printer paper size in Windows, so the method is like this:
- Open Control Panel: Type "Control Panel" in Windows search, then select "Devices and Printers."
- Select the printer used: Right click on the connected cashier printer. Select "Printer Properties".
- Set Preferences: Go to the "Advanced" tab and select "Printing Defaults". After that, set the cashier's printer paper size according to your needs.
- Save Settings: Click "OK" to save the cash register printer paper size settings that you have selected.
The bluetooth cashier printer paper size settings are also not much different. Make sure your Bluetooth cash register printer is connected to the device. Open the settings application and select the appropriate paper size.
Tips to Avoid Setting Mistakes
Using a cash register printer with the correct settings is the key to ensuring that transaction receipts come out neatly and are clearly legible. Don't let customers get confused just because the receipt looks blurry or cut off.
To ensure everything runs smoothly, there are several simple tips you can apply. First, check the specifications of the printer you are using. Make sure the printer supports the paper size you will use.
Some printers are only compatible with certain sizes, so it's important to adjust the settings so that printouts aren't cropped or too small. After setting the paper size, don't forget to do a test print.
Well, this is an important step to ensure that the settings you make are correct. If the print results are still not suitable, you can immediately make adjustments without disrupting business operations.
It's better to make sure from the start than to have to worry when the customer queue is busy. Lastly, make sure you use quality paper. Don't just choose paper, because the quality of the paper really affects the print results.
Choose paper that meets printer specifications and has a smooth surface. High quality paper usually produces print that is sharper and does not fade easily, so that the information on the receipt remains clearly readable by customers.
If the paper size for the cash register printer is correct, the print results will be neater and more professional. You don't need to bother facing complaints from customers because of unclear receipts.
Read Also: This POS Software Makes Your Culinary MSMEs Level Up!
Benefits of Setting the Correct Cashier Printer Paper Size

Source: Freepik
Correctly setting the cash register printer paper size may sound trivial, but it has a huge impact on business operations. The right settings can certainly make the transaction process more efficient.
First, correct settings help save paper. Printing that is neat and appropriate to the paper size prevents receipts from being cut in vain. Try if every print is wasted just because the setting is wrong.
Apart from being wasteful, this also burdens your business operational costs. Apart from that, with the sizes set correctly, the transaction process at the cashier will be faster.
The printer doesn't take long to adjust the print size. This means that customers don't have to wait too long just to receive their receipt. This is very important, especially when the queue is busy.
What is no less important, displaying the receipt professionally gives a positive impression to customers. A neat receipt with clear information makes your business look more serious and trustworthy.
Small details like this can make customers more satisfied and want to shop again. Currently, Bluetooth cashier printers are increasingly popular because of their practical convenience without cables.
However, don't forget to make sure that the paper size settings on the Bluetooth printer are also correct. If the settings are wrong, the print results can be cropped or disproportionate, which of course reduces the professional impression.
If you use the settings correctly, your cashier operations can run more efficiently and professionally. So, don't take it lightly, OK! Because a small investment has a big impact on the smooth running of your business.
Apart from cashier printers, managing your culinary business also needs an integrated system. ESB Core is an ERP solution specifically designed to make managing your culinary business easier.
The availability of complete features makes ESB Core allows you to monitor the financial performance of each outlet in detail, you know! ESB Core also helps you formulate a more effective business strategy.
How to Print/Print Bill on ESB POS
After setting up ESB Core, the next step is to set up ESB POS so you can print bills easily. First, go to the menu Tools on the POS ESB, then select Section Application Setting.
In part Default Station, select the station that will be used to print the bill, then press the button Save. After that, go to transactions and press Print Bill.
The bill will be printed according to the Default Station settings and format that has been set in Receipt Printing Setting on ESB Core. The printed bill format can vary depending on the Layout Type and Printing Receipt Mode used.
So, what are you waiting for? Manage your business more practically and professionally togetherwith ESB Core! That's an easy way to set the cash register printer paper size without any hassle. Come on, let's practice straight away, and don't forget to upgrade your business system with cool solutions from ESB Core!